In this guide, we’ll explore how to deploy a Node.js application on DigitalOcean Droplet.
At the end of this tutorial, you will have the application live on a public IP address.
Prerequisites
Before we dive into the code, below are some things you should know:
- You are familiar with JavaScript, Node.js in general
- You are familiar with Git and GitHub
- You are familiar with Linux systems and commands
- You are familiar with DigitalOcean
Example App
We'll use a Node.js boilerplate from Github and set up that project on Droplet. You are free to use your own project if you have. Here is the project I'll be using https://github.com/devkiran/express-sample
Create a Droplet
Let's create a new Droplet. Go to DigitalOcean Marketplace and find NodeJS One-Click Install App.
DigitalOcean's One-Click Install Apps allow you to spin up a Droplet with certain features pre-installed. So that you can set up the servers in a few clicks. Save a lot of your time.
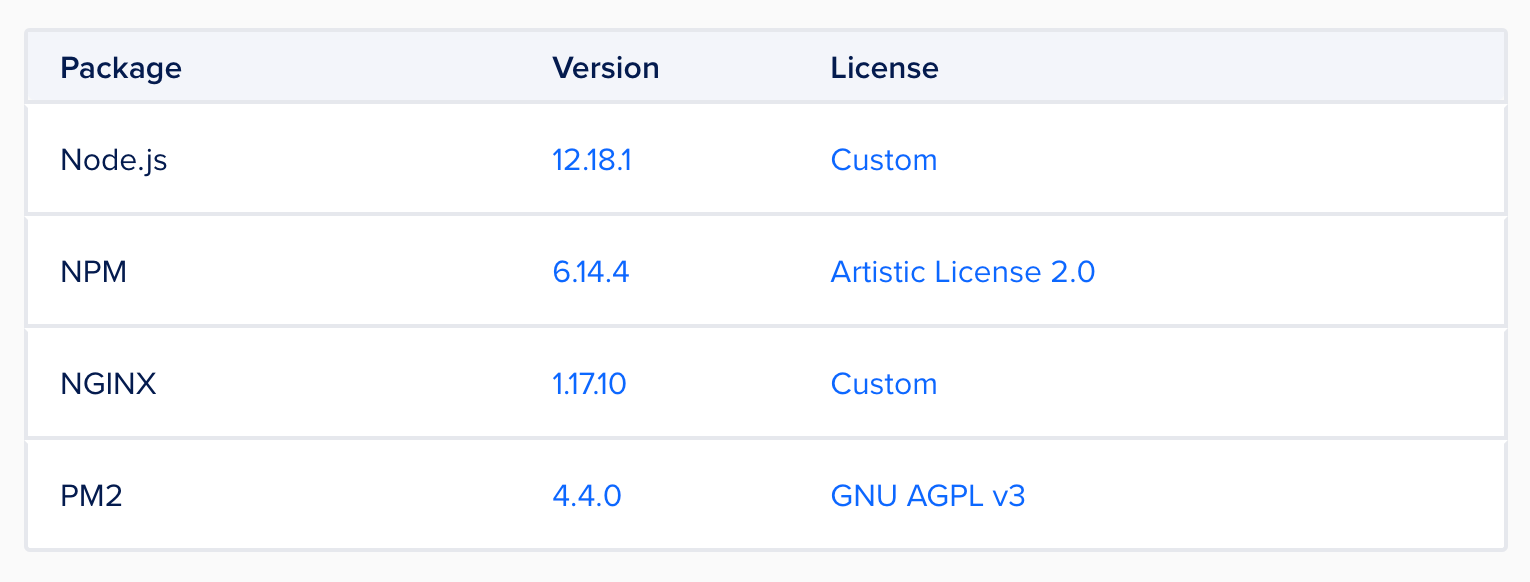
It comes with the following software installed.
Click the button Create NodeJs Droplet and create a new Droplet based on your preference. Remember to keep the Droplet's password safe somewhere.
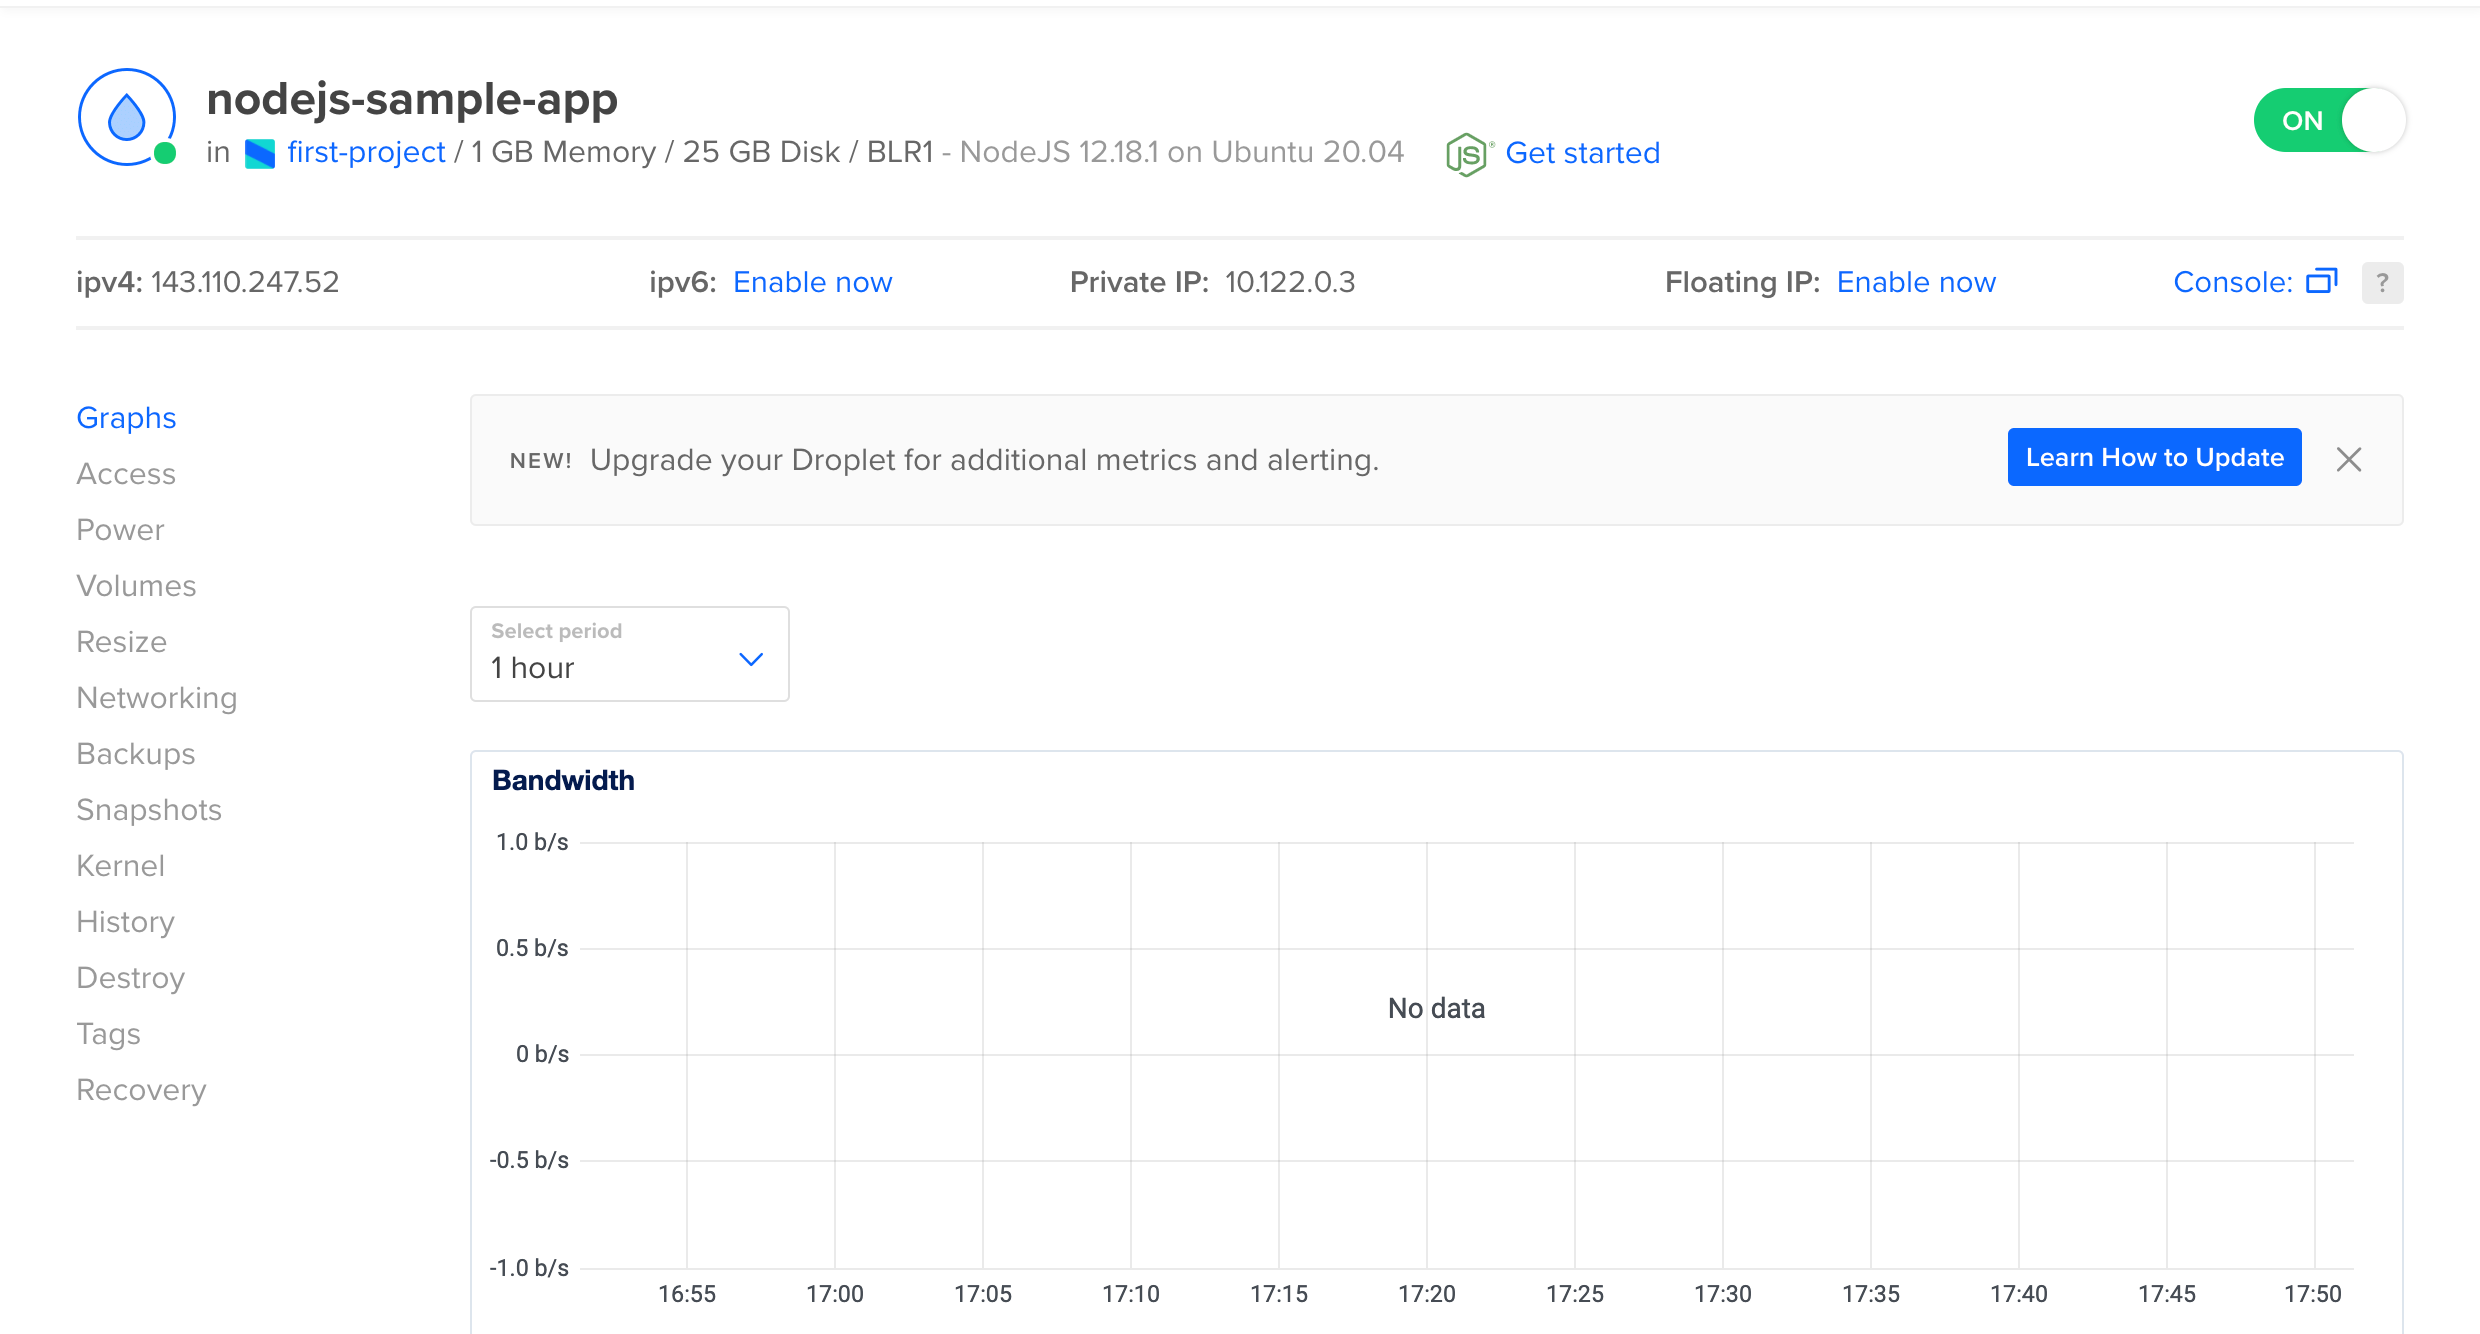
After some time, the Droplet is ready to use.
Connect to Droplet with SSH
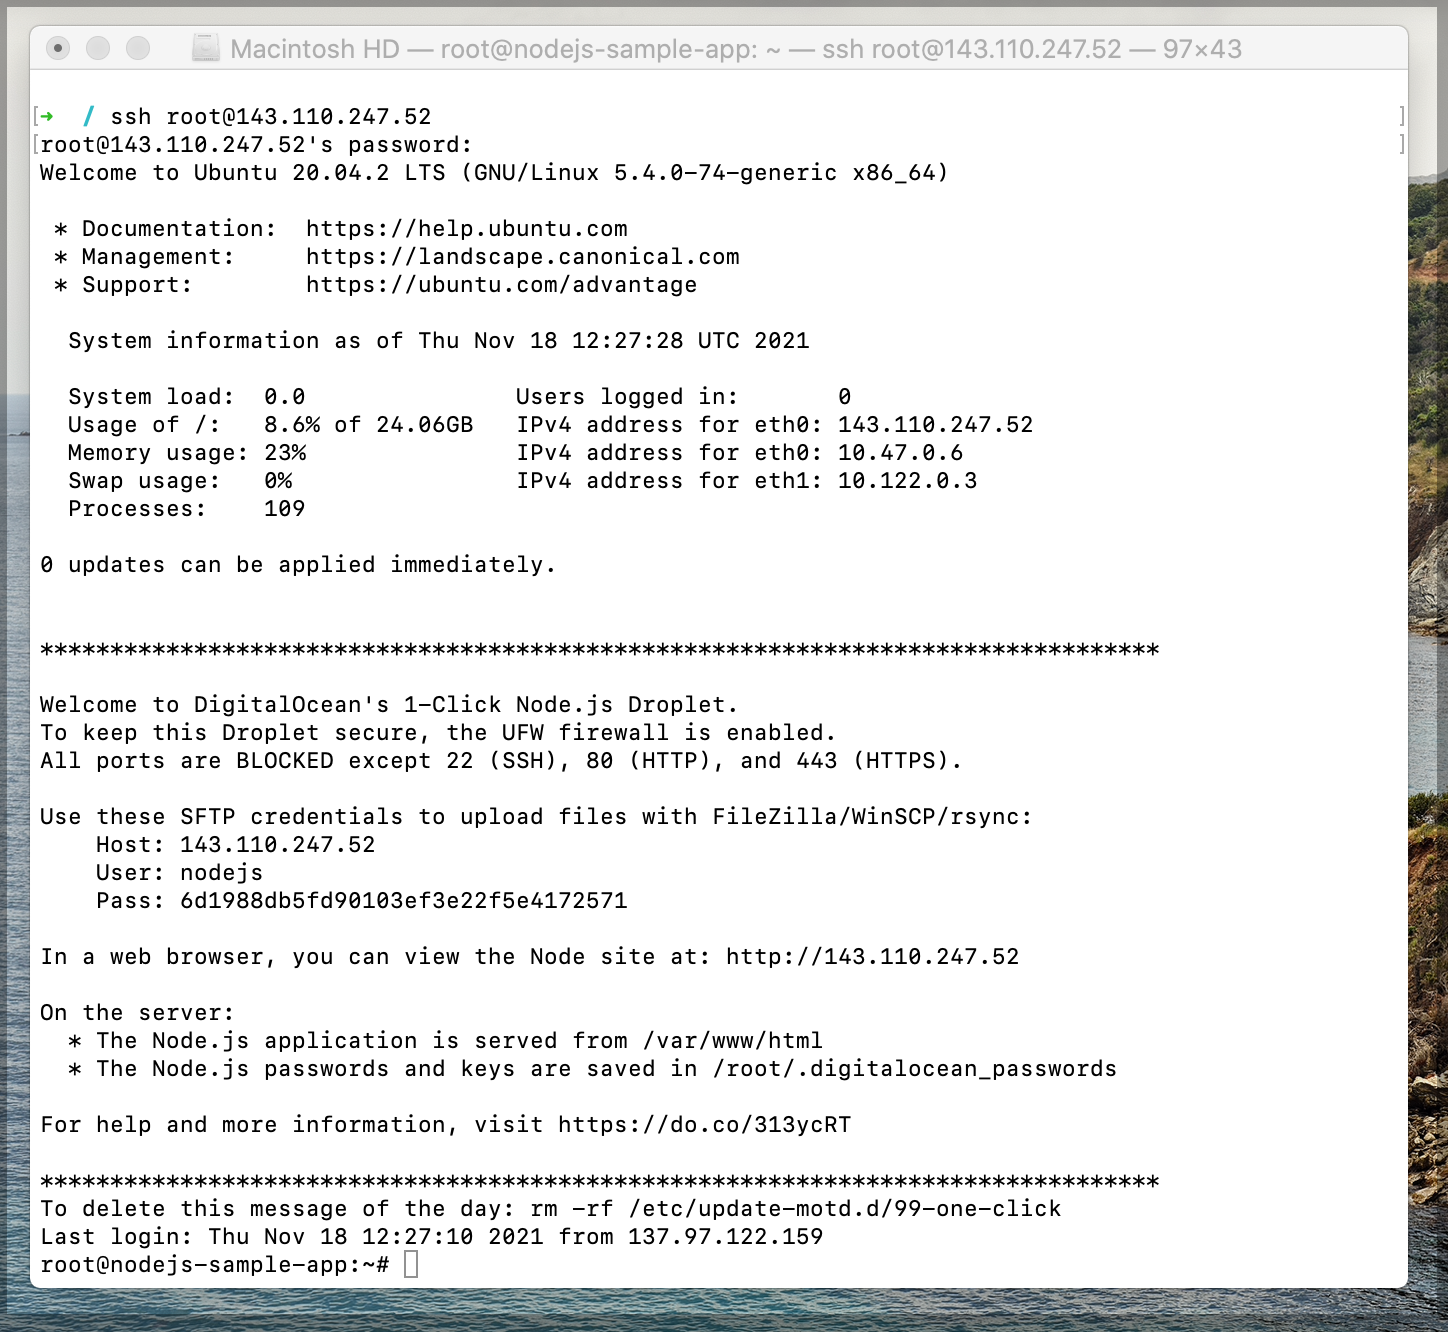
Now we will connect to your Droplet via SSH. Please note down the public IP address of your Droplet.
ssh root@<ipv4>
Setup the project
Create a new directory apps and clone your project in that directory.
mkdir apps
cd apps
Clone the project into a folder node-app
git clone https://github.com/devkiran/express-sample.git node-app
Change directory to node-app
cd node-app
Install NPM dependencies
npm install
Start the application with PM2
Note about PM2
We will be using PM2, which is a process manager for Node.js applications. PM2 provides an easy way to manage and daemonize applications. PM2 is already installed within our Droplet.
Make sure you are at the root of your project and start your Node.js application with the pm2 start command. This will start the process in the background.
pm2 start npm -- start
This also adds your application to PM2’s process list, which is outputted every time you start an application.
[PM2] Starting /usr/bin/npm in fork_mode (1 instance)
[PM2] Done.
┌─────┬────────┬─────────────┬─────────┬─────────┬──────────┬────────┬──────┬───────────┬──────────┬──────────┬──────────┬──────────┐
│ id  │ name   │ namespace   │ version │ mode    │ pid      │ uptime │ ↺    │ status    │ cpu      │ mem      │ user     │ watching │
├─────┼────────┼─────────────┼─────────┼─────────┼──────────┼────────┼──────┼───────────┼──────────┼──────────┼──────────┼──────────┤
│ 0   │ npm    │ default     │ N/A     │ fork    │ 8797     │ 0s     │ 0    │ online    │ 0%       │ 25.8mb   │ root     │ disabled │
└─────┴────────┴─────────────┴─────────┴─────────┴──────────┴────────┴──────┴───────────┴──────────┴──────────┴──────────┴──────────┘
Setting Up Nginx as a Reverse Proxy Server
Now that your application is running, and listening on localhost, you need to set up a way for your users to access it.
We will set up the Nginx web server as a reverse proxy for this purpose.
Open the Nginx configuration file /etc/nginx/sites-available/default
sudo nano /etc/nginx/sites-available/default
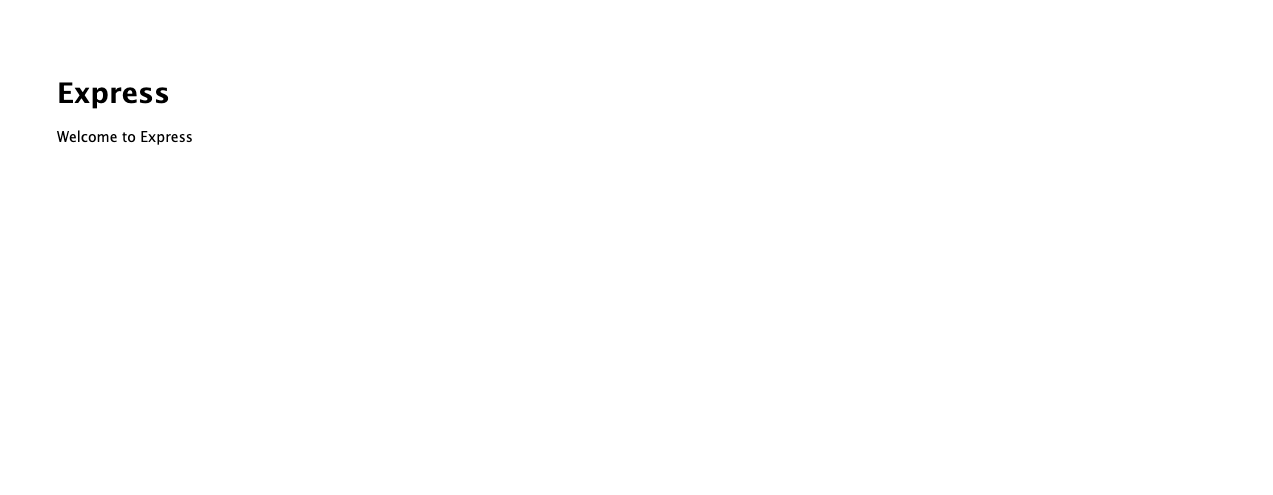
The goal here is to direct the traffic from pubic IP address to your Node.js application running at http://localhost:4000
In the location block, change the proxy_pass with the following line
proxy_pass http://localhost:4000;
The completed location block should looks
location / {
	proxy_http_version 1.1;
	proxy_cache_bypass $http_upgrade;

	proxy_set_header Upgrade $http_upgrade;
	proxy_set_header Connection 'upgrade';
	proxy_set_header Host $host;
	proxy_set_header X-Real-IP $remote_addr;
	proxy_set_header X-Forwarded-For $proxy_add_x_forwarded_for;
	proxy_set_header X-Forwarded-Proto $scheme;

	proxy_pass http://localhost:4000;
}
Make sure you didn’t introduce any syntax errors by running the command.
sudo nginx -t
Now restart Nginx by running the following command.
sudo systemctl restart nginx
Assuming that your Node.js application is running and Nginx configurations are correct, you should now be able to access your application via the public IP address of your droplet.